
 |
| If you’re not satisfied with the Apple process and you want a clean library, following this method gives you a new, clean library of all your music and movie media. |
Well, I’ve had my iTunes library on a first generation Intel Mac. The machine couldn’t be upgraded to newer operating systems any longer. I’ve decided to move my iTunes library to a new MacMini that we got for Christmas back in 2012.
The older MacPro had four hard drives in it with a total of about 7 terabytes of data storage. The new MacMini by contrast has only a terabyte of data storage. My iTunes library is about 2.2 terabytes in size. I decided to purchase an external RAID drive that had Firewire 800 and USB as connectivity options. The RAID drive gave me about 3 terabytes of usable space with the added benefit of redundancy. I’m also backing up my computer using Backblaze as I wrote about in my article on backing up your iTunes media library.
There are various tech notes on how to move an iTunes Library from one place to another. In particular are these tech notes on moving your iTunes folder and moving your iTunes library to a new computer. All of the points in these tech articles are excellent and I recommend that you review and follow them.
If, however, you want to have a bit of a clean slate, I have an alternative method that I often use when transferring from one computer to another and I want to eliminate any problems that may have crept up with my previous Library. I’ve done this a few times and for me it’s worked exceptionally well. When I’m done, I have a brand new library that’s completely organized with all my original music, movies, TV Shows, and the like.
If you want to try this method yourself, here’s what you do:
- Make a backup of your entire iTunes Library by backing up either the entire hard disk or the iTunes folder (see the Apple Tech Notes above on where to find it. On a Mac it’s usually in your Music Folder).
- Copy your iTunes Library to an external hard drive or create a network connection between the old machine and the new one.
- Launch iTunes on the new machine and create a library in the location where you want the new library to reside. In my case, I saved my library to the external RAID hard drive.
- Quit iTunes on the new machine
- Navigate to the new iTunes library and open up the Automatically Add to iTunes folder inside the iTunes Media folder.
- Copy all your entire iTunes Media folder from your old computer into the Automatically Add to iTunes folder on the new computer. If you want to really be sure to have a virgin setup, only copy over the specific content you want such as Movies, Music, TV Shows, etc.
- Launch iTunes on the new machine after you have finished copying the content. Important note: this method will not synchronize ePub digital book files or voice memos properly. You’ll need to sync those manually.
- Your new Library will now be populated and properly organized. After spot-checking folders and sub-folders in the Automatically Add to iTunes Library to make sure they are completely empty of any media files, I then delete all the folders in the “Automatically Add to iTunes” since that method doesn’t remove folders.
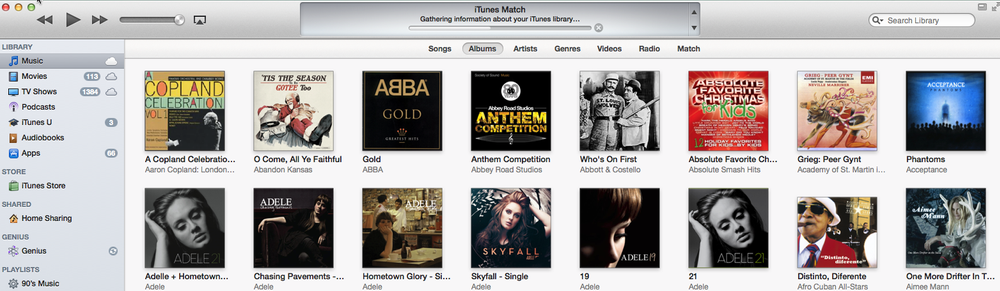
- Housekeeping: if you are missing artwork, be sure to download it using the File–>Library–>Get Album Artwork menu command.
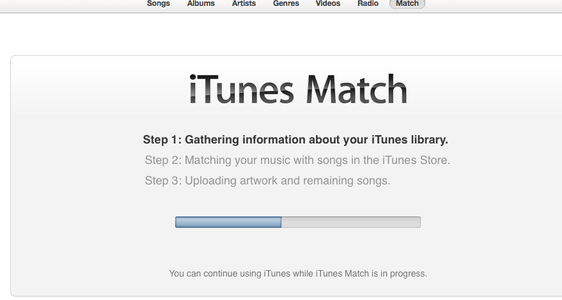
- Activate iTunes Match and Genius if you use those services.
- Congratulations, you now have a new, clean iTunes Library.


 and Edge NQ network streamers gain Roon support")


 and Edge NQ network streamers gain Roon support")
 review: The perfect audiophile streaming speaker")

